Contact Download
EN

Point clouds

How to measure stockpile volume from a point cloud

Stockpile volume from a point cloud (a drone survey or a laser scan) takes five steps in Crosscut: import the LAS, LAZ, E57 or PLY file, remove the noise, classify the ground, build a surface and measure the volume inside each pile’s outline.
How to measure stockpile volume from a point cloud

1. Import a point cloud

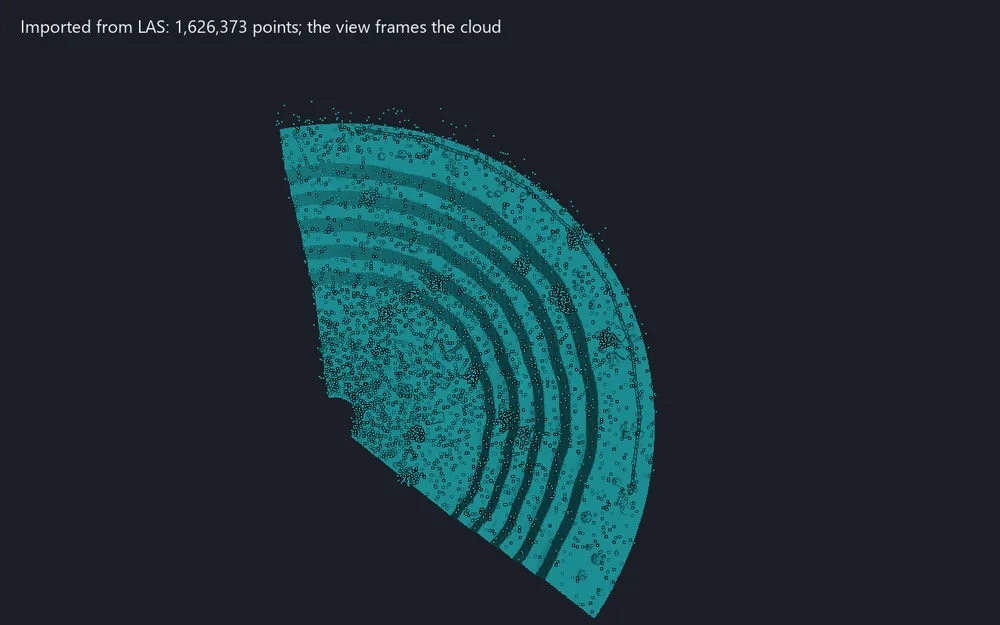
The survey after import: the view is framed on the cloud and can be turned at once

Read a survey into the project from LAS, LAZ, E57, PLY or a text file. The points are sorted in the background, so a large file does not hold up the work.

  1. On the Point Clouds tab, in the Exchange group, click Import point cloud and choose one or more files.
  2. For LAS and LAZ, check the header (version, point format, number of points, size), untick the classes you do not need and choose thinning: every n-th point or one point per cube.
  3. For a text file, check which column is X, Y, Z in the Text file columns window.
  4. With several LAS files, choose one cloud of all of them or a cloud for each file, and click Import point cloud.

Result: the clouds on the Point clouds layer, each named after its file, with the view framed on them. Added as one undoable step.

Read more in the guide →
2. Remove noise

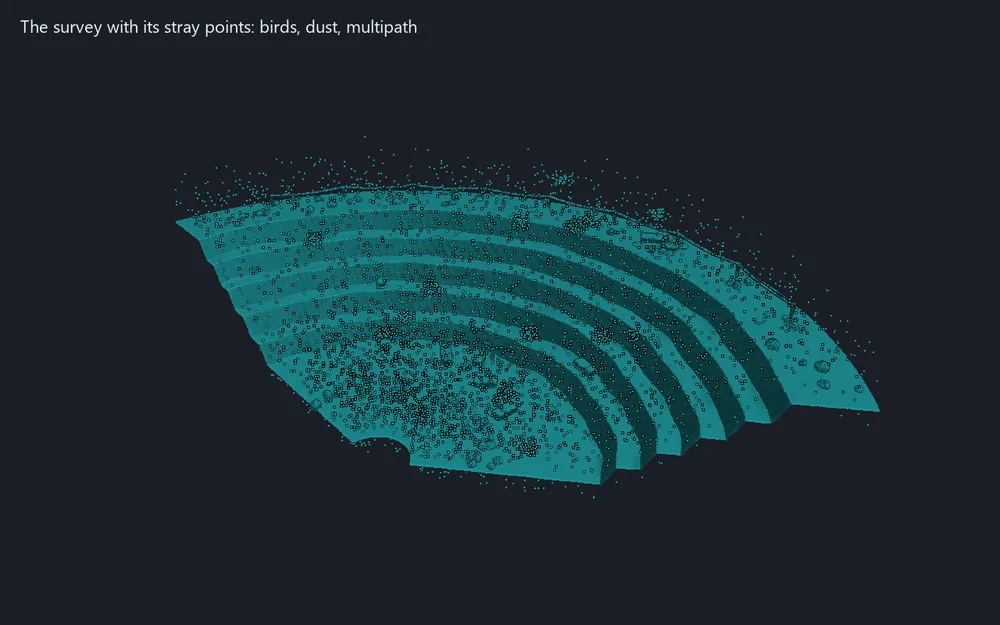
The noise found and taken out of the cloud

Find the stray points of a survey: birds, dust, multipath. A point is noise when it stands too far from its neighbours, or when it has too few of them within a radius.

  1. Select the clouds. On the Point Clouds tab, in the Processing group, click Remove noise.
  2. Choose the method. Statistical: the number of neighbours and the standard deviations. Radius: the radius and the fewest neighbours within it.
  3. To keep the points, tick Class the noise as Low point (noise): they stay in the cloud with class 7.
  4. Click Remove noise. The work runs in the background and can be cancelled.

Result: the cloud without its stray points, or with them in class 7. One undoable step. Noise points are left out of surfaces in any case.

Read more in the guide →
3. Classify ground

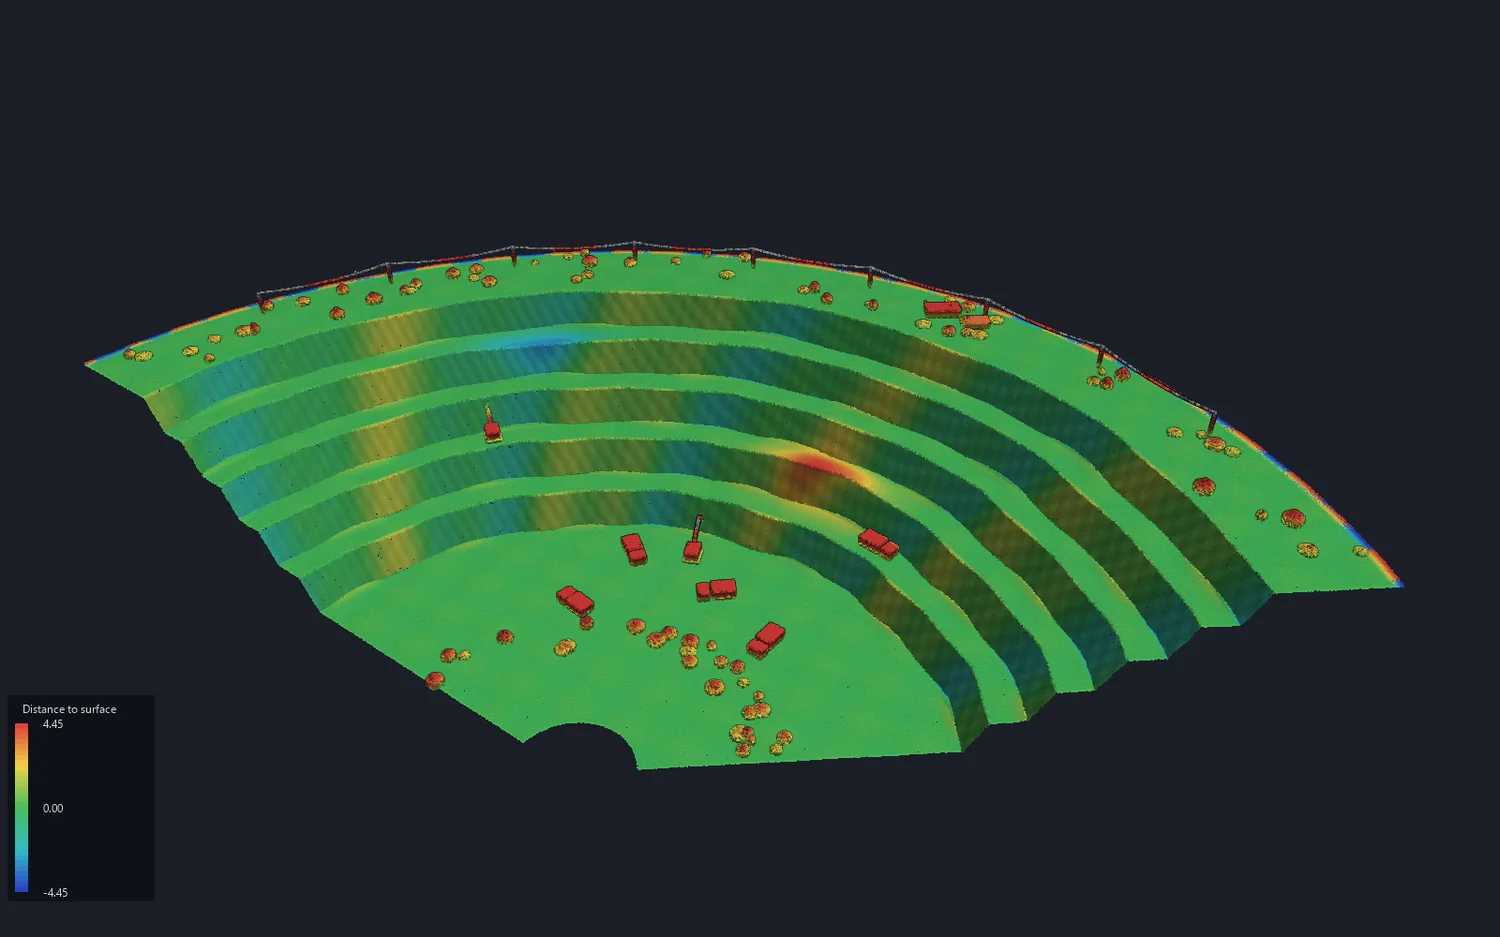
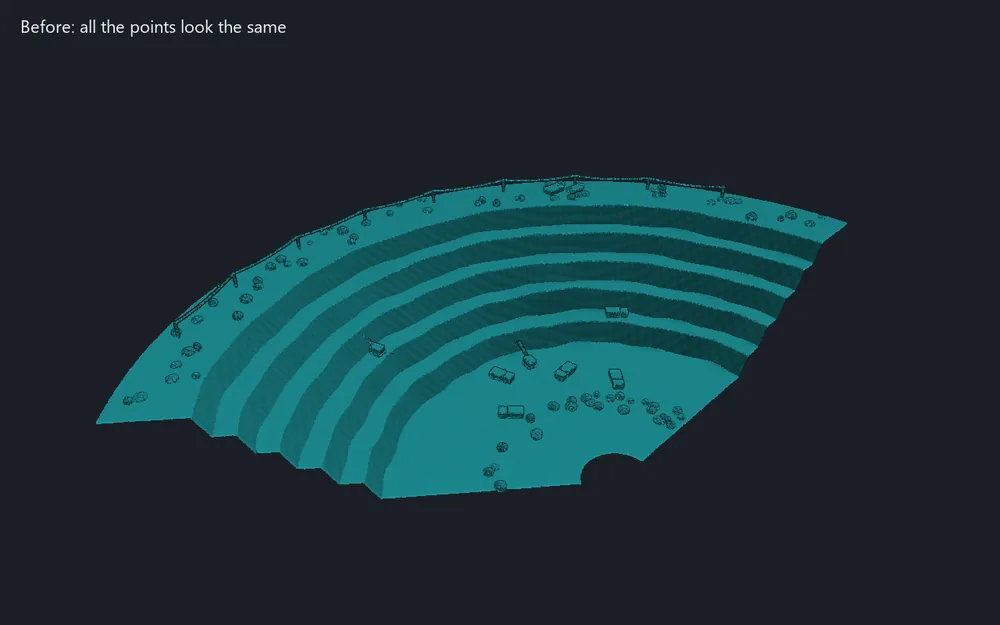
Classes appear on the cloud; with Ground hidden, what stands on it remains

Separate the ground from machines, buildings and vegetation by a cloth simulation: a cloth falls on the upside-down cloud, and the points close to it are ground.

  1. Select the clouds. On the Point Clouds tab, in the Processing group, click Classify ground.
  2. Set the cloth spacing: a smaller one follows the ground closer and takes longer. For pit walls of 60° and more, use 0.5 m or less.
  3. Choose the terrain: Steep slopes (open pit, benches), Relief or Flat.
  4. Set how far from the cloth a point still counts as ground, and click Classify ground.

Result: the ground points in class 2, the rest Unclassified, noise left as noise. The clouds are coloured by class and a message gives how many points are ground. Surfaces and crests can then use the ground points only.

Read more in the guide →
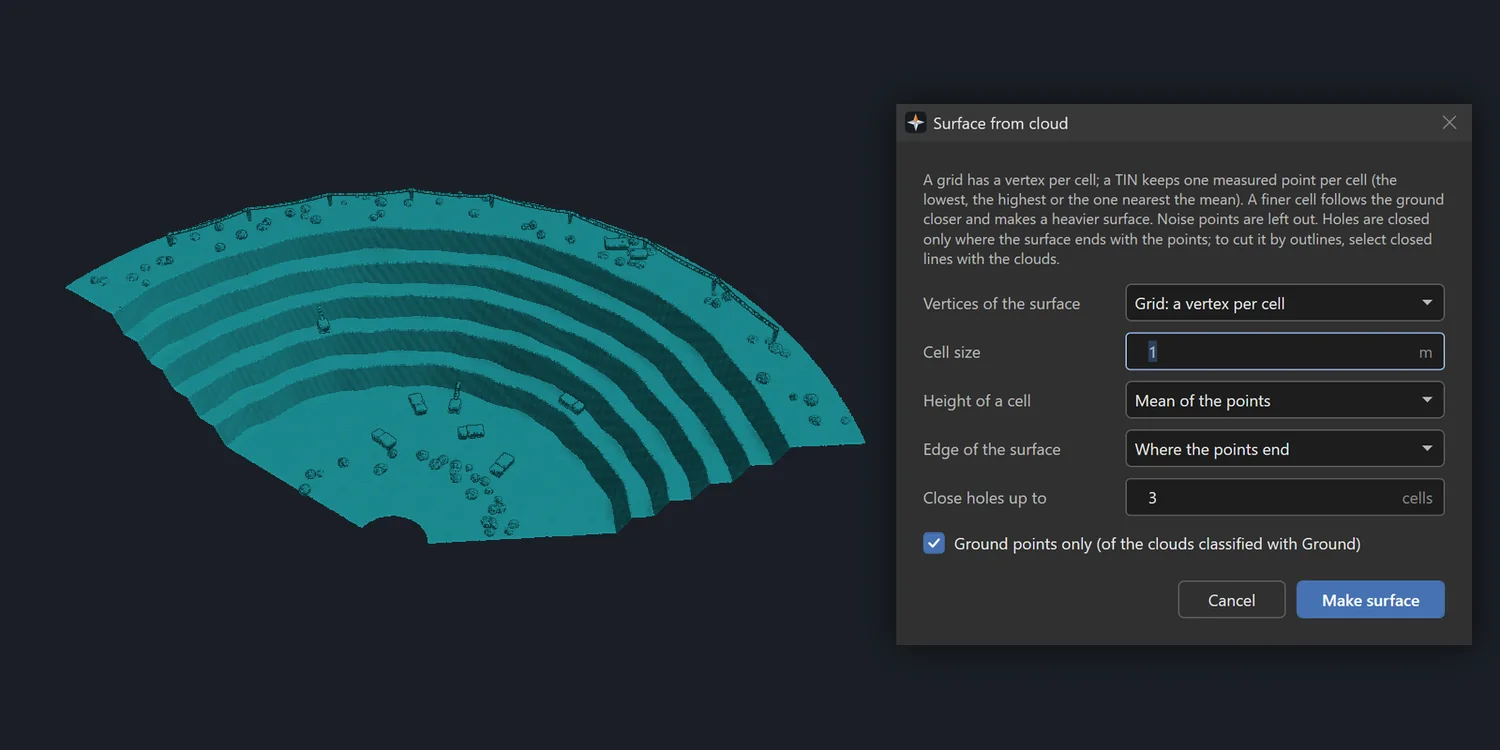
4. Make a surface from a cloud

The window over the cloud

Make a triangle surface (terrain model) on a regular grid in plan: a vertex per cell, or a TIN that keeps one measured point per cell. Volumes and comparisons are measured against it.

  1. Select one or more clouds; to cut the surface by outlines, select closed lines too. On the Point Clouds tab, in the Analysis group, click Surface from cloud.
  2. Choose a grid or a TIN, the cell size and the height of a cell: lowest point, mean or highest point.
  3. Choose where the surface ends: where the points end, at their convex hull or inside the selected outlines. Set which holes to close.
  4. Keep Ground points only for classified clouds, and click Make surface.

Result: A mesh on the Surfaces layer, selected, as one undoable step. Noise points are always left out.

Read more in the guide →
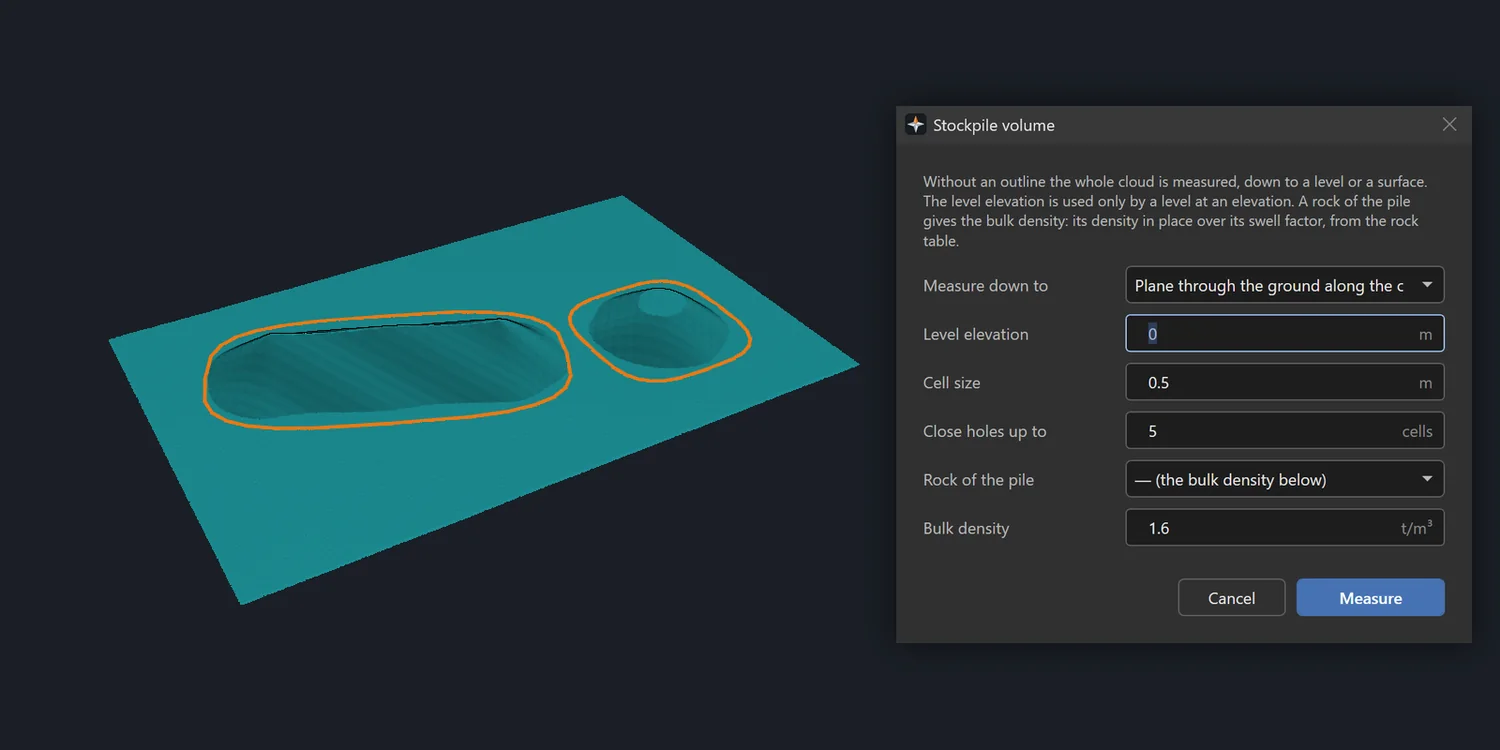
5. Measure a stockpile

Two outlines on the pad, the window over them

Measure the volume of a cloud inside closed outlines down to a base: a plane through the toe, a level or a selected surface. Each outline that no other holds is a pile of its own.

  1. Select the cloud and a closed outline for each pile; for a surface base, the surface too. On the Point Clouds tab, in the Analysis group, click Stockpile volume.
  2. Choose what to measure down to: a plane through the ground along the outline, a plane through the outline’s points, a level or the selected surface.
  3. Set the cell size and which holes to close.
  4. Give the bulk density, or a rock from the rock table, and click Measure.

Result: each pile’s volume and mass; the area in plan, the share covered by points, the volume above and below the base, the net volume and the tonnage. On request, a sheet with a table and a plan. The document is not changed.

Read more in the guide →

Other sections

Try this section in the free demo

The demo is the full program: all six sections, nothing switched off. Windows 10 or 11, 64-bit.

Download the installer